Making a Beetle Specimen
|
It is very easy and cheap to display your dead beetles. It is also very rewarding to display the beetles that you carefully looked after. Below is a very simple method that will allow you to display your beetles for a very long time.
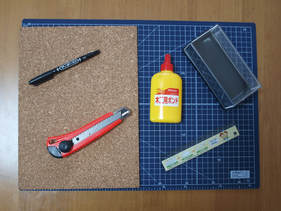
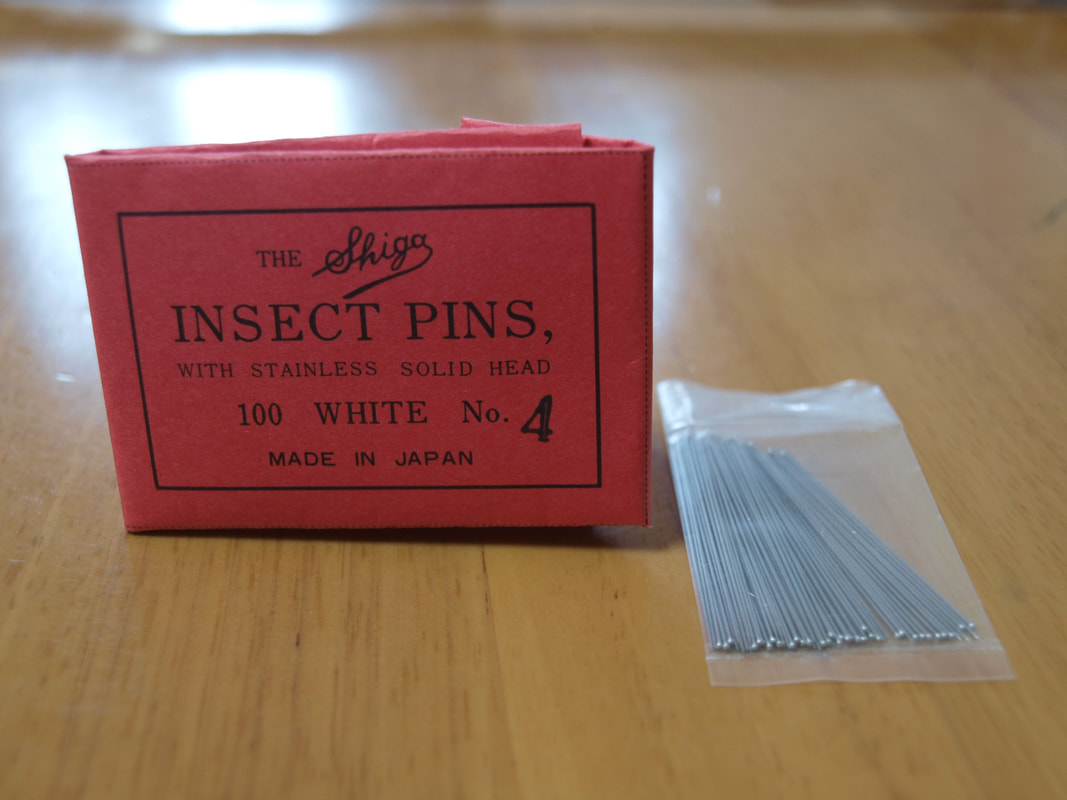
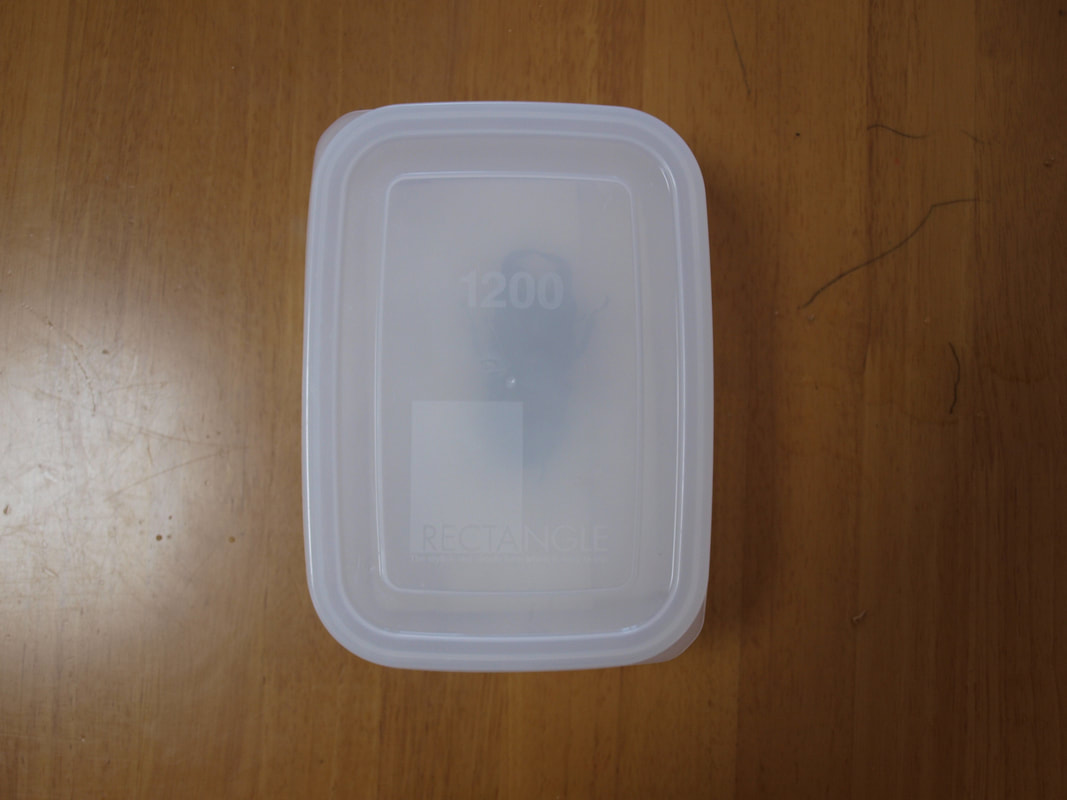
You will need a cheap plastic case, cotton pads, a cutter knife, a cutter board, a ruler, a marker, thin corkboard, glue, a plastic display case, mothballs, a silica gel pack, a cardboard box, tweezers, a dissection needle, and pins. There are actually insect pins that you can purchase. |
|
|
Preparing the Display Case
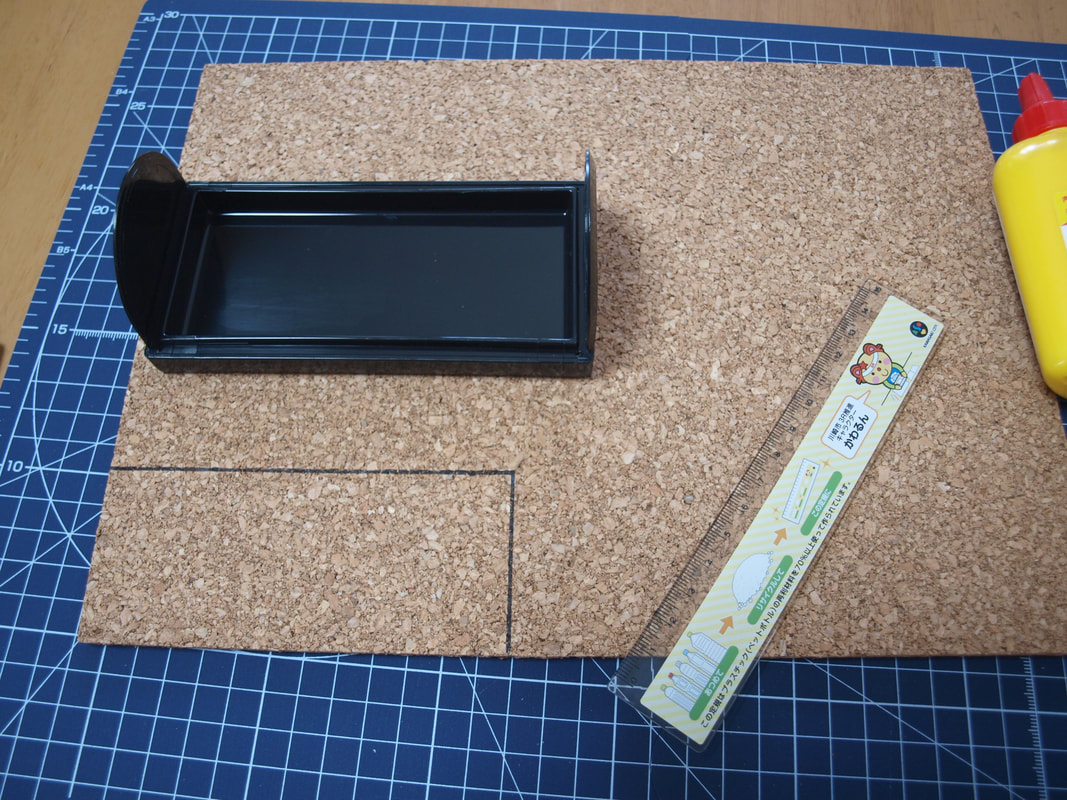
To prepare the display case, you will need to measure the length and width of the case. Then, use a ruler and marker to draw these dimensions on the corkboard.
|
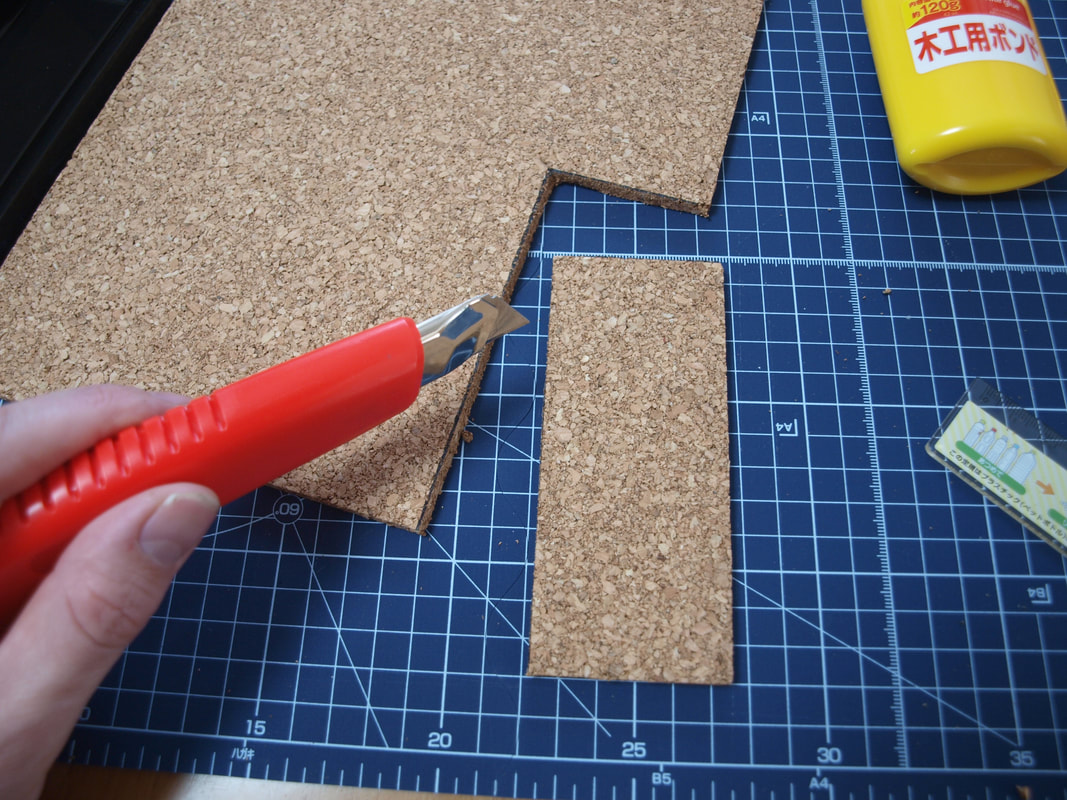
Put the cork board on cutter board. Carefully use the cutter knife to cut out the corkboard. Use a ruler so that you can cut out straight lines. Try not to break the corners off.
|
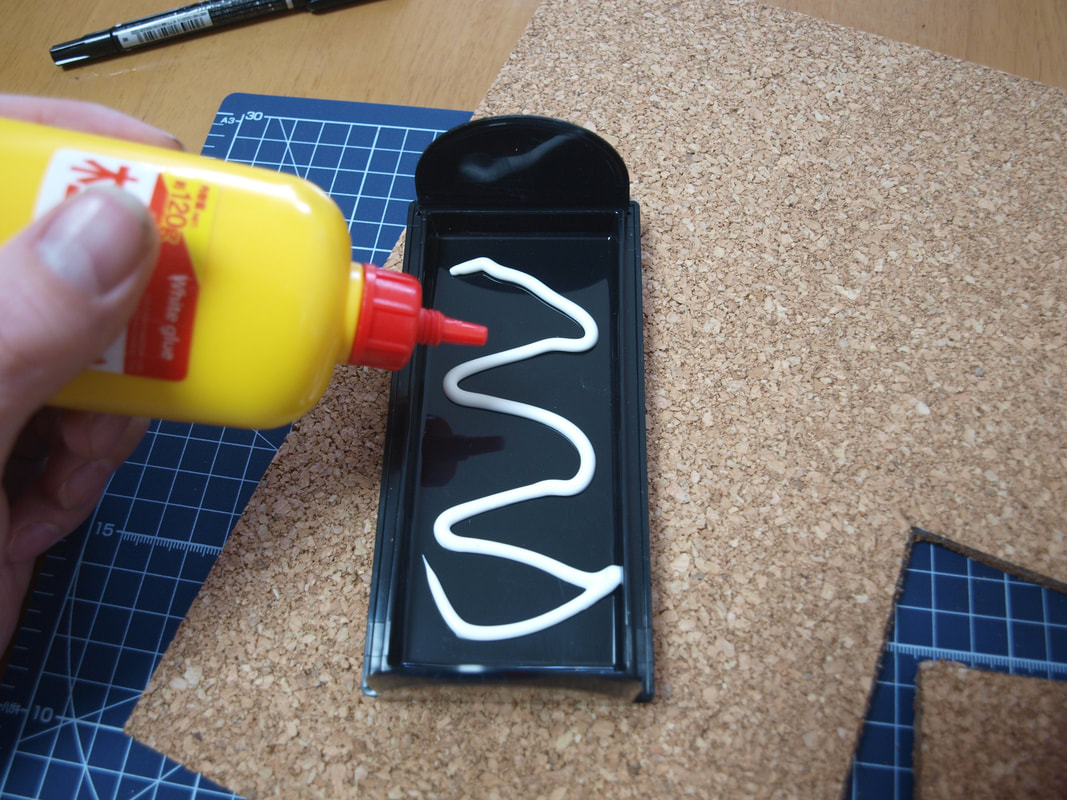
Add glue to the base of the container in a way that will allow your corkboard to stay firmly in the case.
|

Insert the corkboard into the container. Press down against the glue. Allow the glue to dry.
|
Preparing the Dead Beetle
When a beetle dies, they become very hard. The longer you wait, the harder it is for you to bend the limbs and mandibles into a position that you like for display. Below is a method to make your dead beetle softer to maneuver.
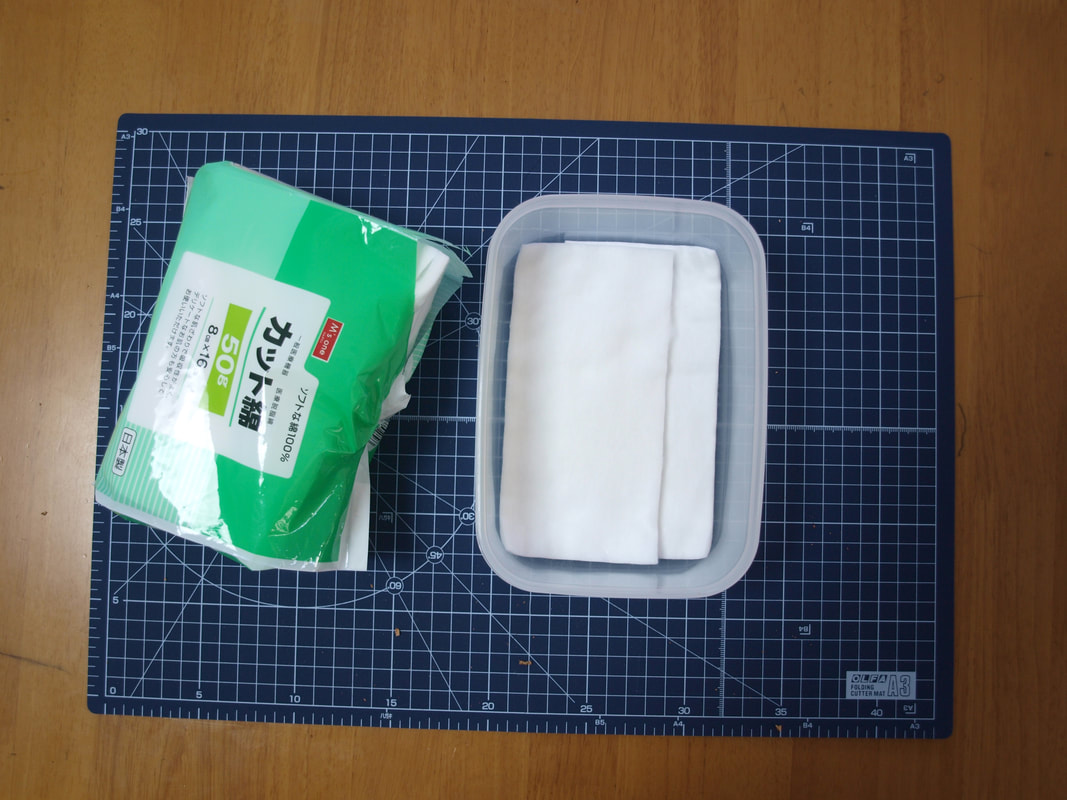
Place some cotton pad sheets into a plastic container that can withstand hot water.
|
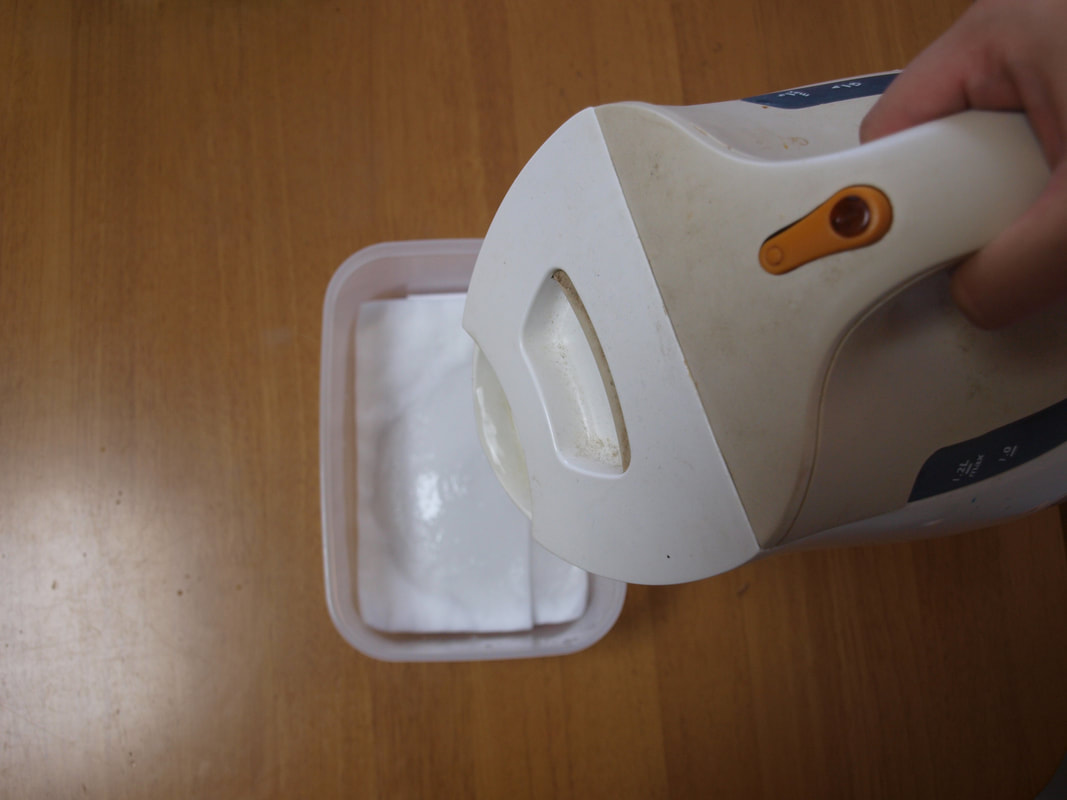
Pour in some boiling water until the cotton pads are wet.
|
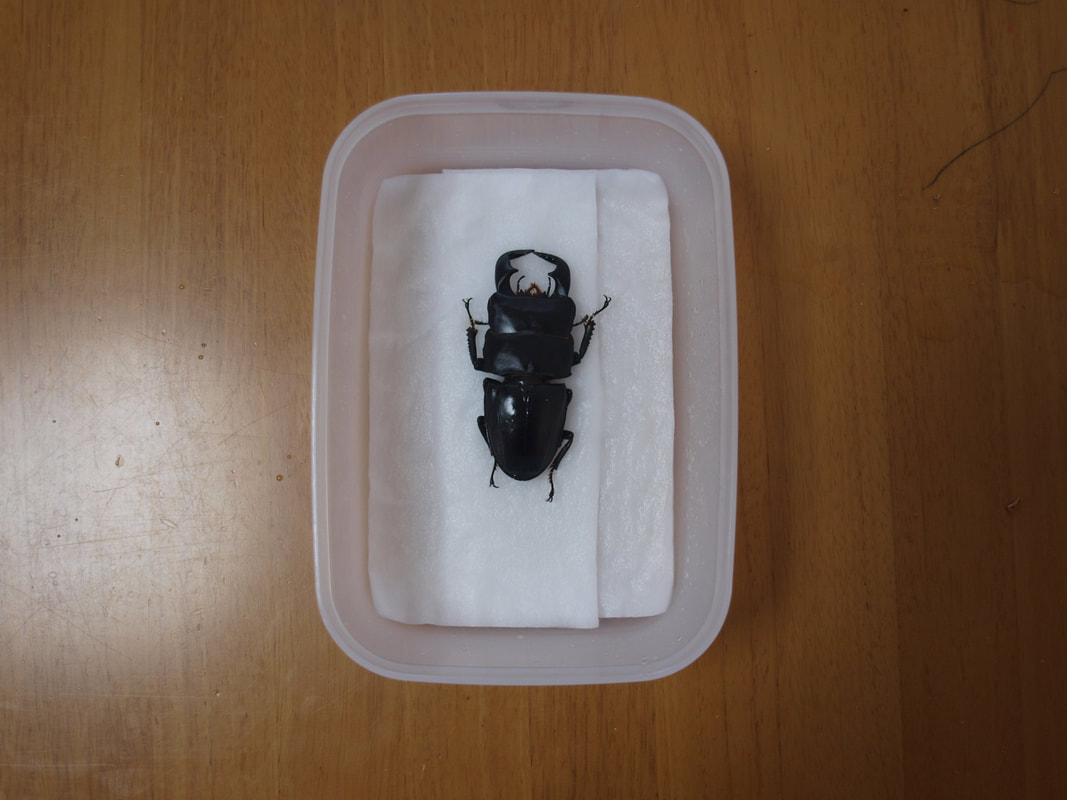
Place the dead beetle on the cotton pads.
|
Put the lid on and leave it for 1 day to soften the beetle up.
|
Pinning the Beetle in Place
|
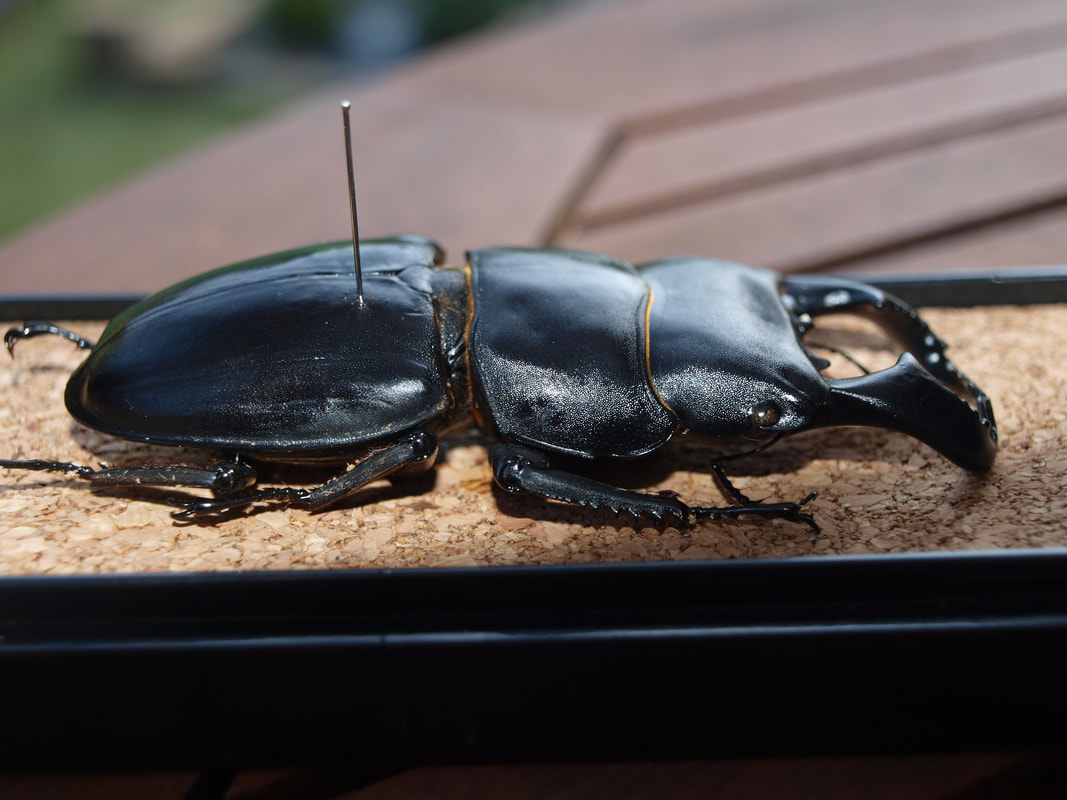
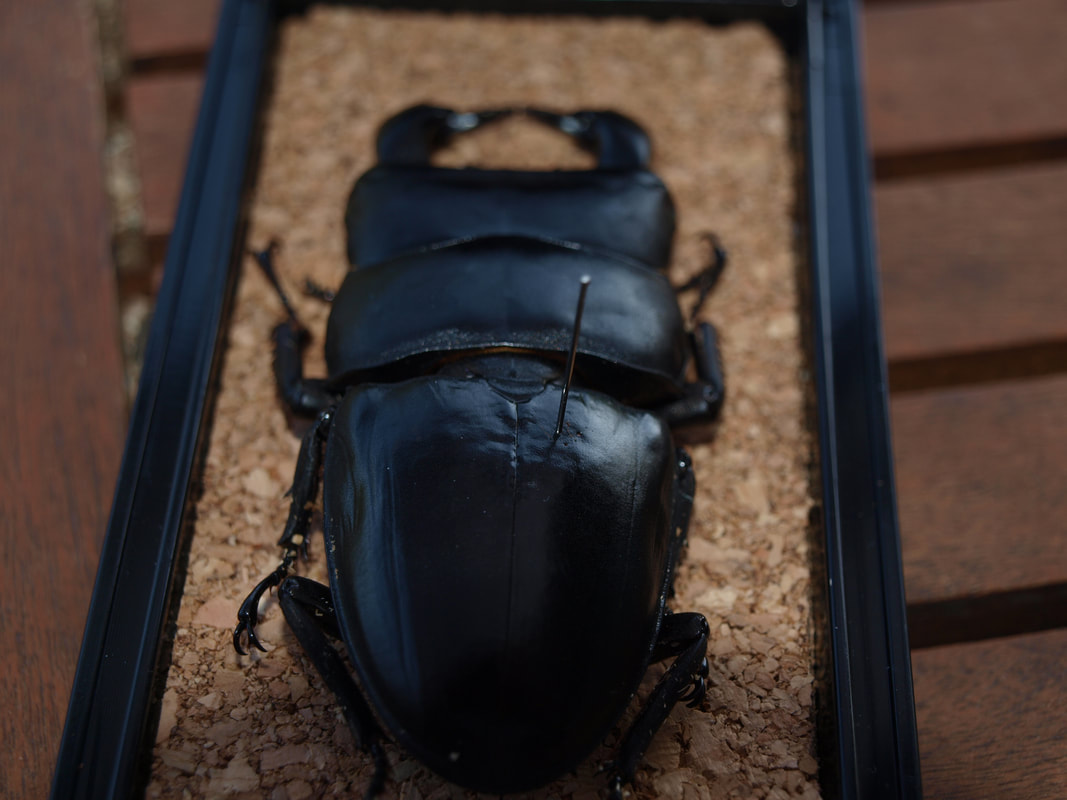
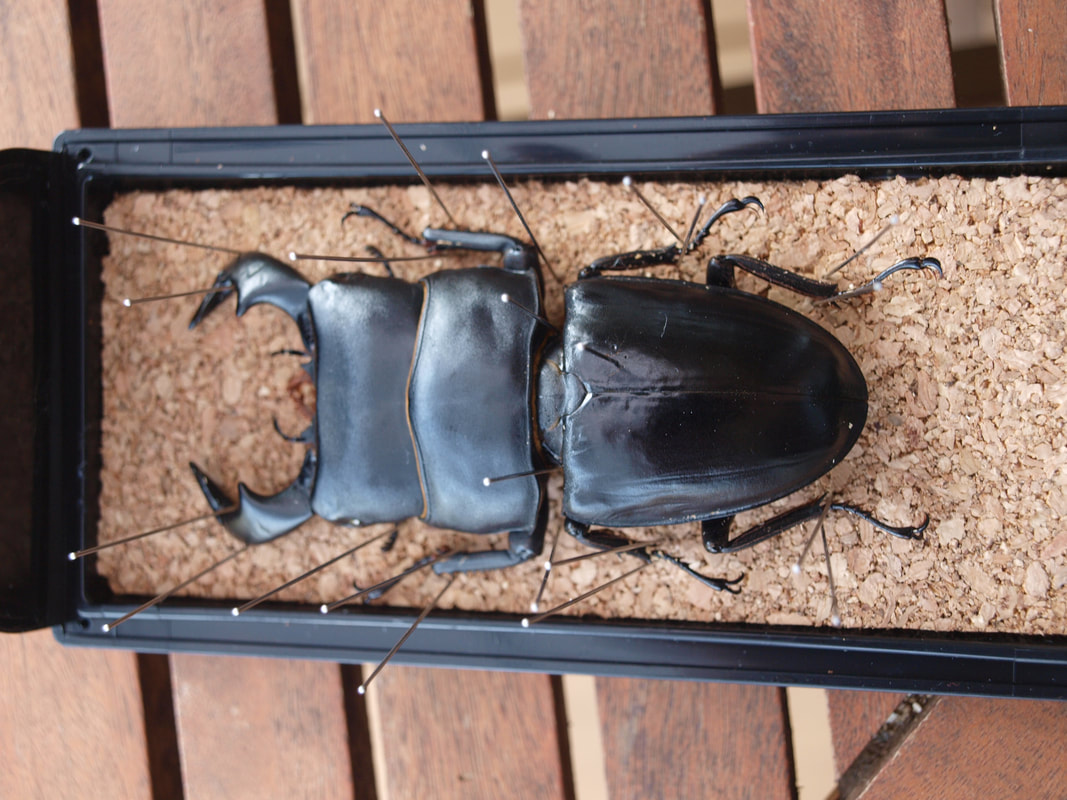
Place the beetle in the center of your display case. The first pin should go through the beetle's body. It should be pierced near the top of its wings, slightly right from the middle of its body.
This first piercing can be quite difficult, as the exoskeleton of some beetles is very hard. In these cases, use tweezers to help you push the pin through its body and into the corkboard below it. It is important to try and keep this pin as straight as possible. |
|
|
|
|
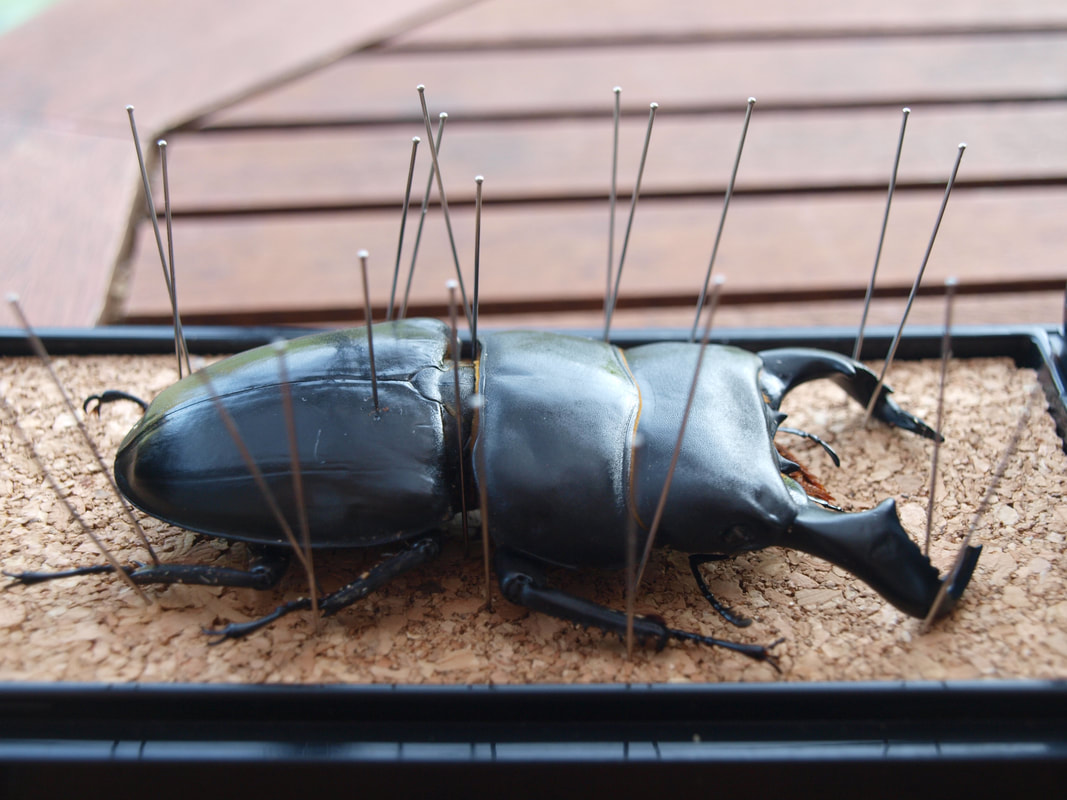
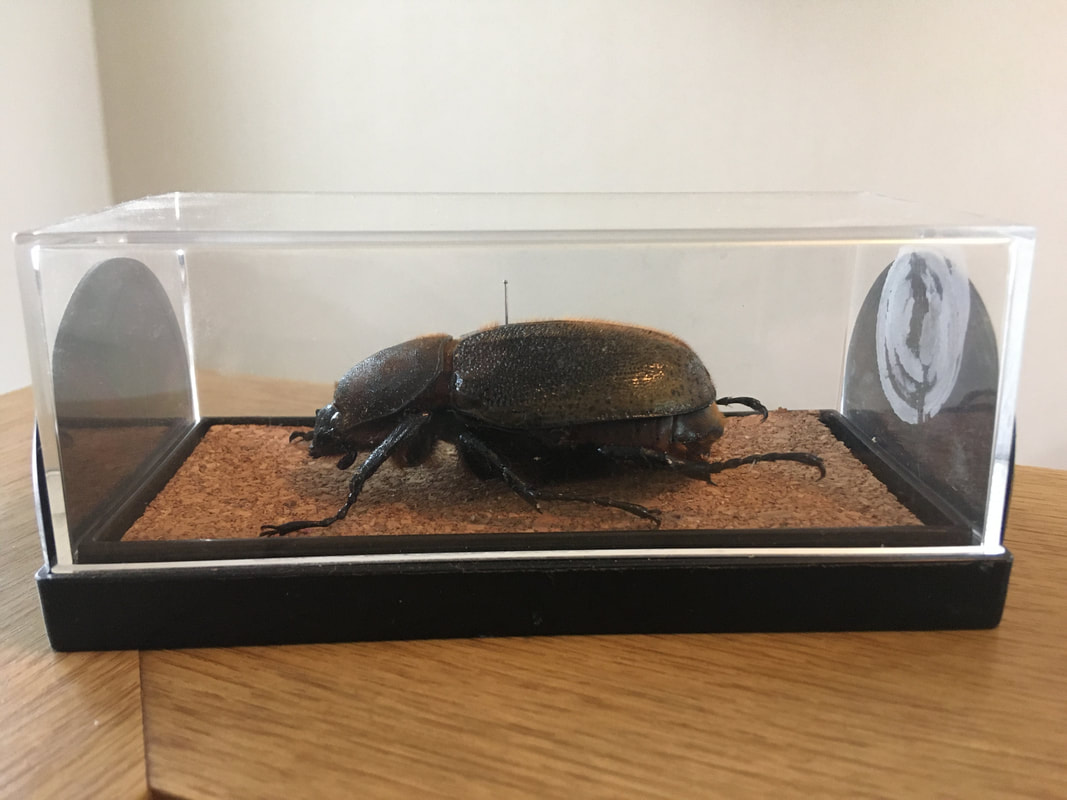
The next two pins should be placed on either side of the beetle to stop the beetle from twisting and turning out of place. From there, you can move its legs in any position that you want, but generally the legs are put in place like the photos. It might be a good idea to use a pin set to carefully move the legs into the right place. The legs are also quite fragile, so be careful you don't accidentally rip them off.
When you have the parts in the place you want, put pins in places to stop the parts from moving. |
|
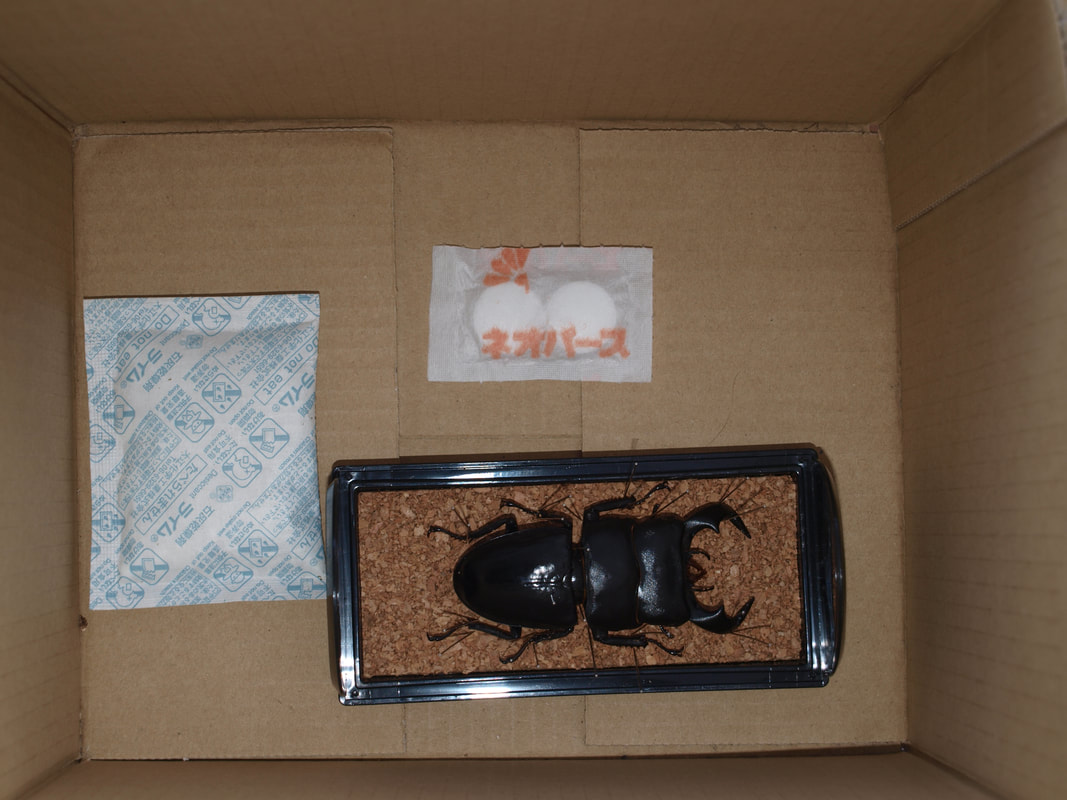
Place the beetle in a small box. Put in a silica gel pack to help take away the moisture. Also, put in something that will help keep out unwanted pests. Mothballs can be used, but there is evidence to suggest these are bad for your health, so you can use other alternatives that help to keep pests out.
Tape up the box and leave it in a place where it won't be disturbed. . |
|
|
|
As the beetle dries in the box, it hardens into place. Stag beetles take about 2 months to dry if the temperature is consistently around 24 degrees Celsius, For larger rhinoceros beetles, such as Hercules, it can take up to 6 months for the beetle to dry
After the beetles have dried out, they should be very stiff. You can proceed to carefully take out all the pins from the corkboard, except for the middle pin that is keeping the beetle connected to the corkboard. The limbs and mandibles should stay in place after removing the pins. You can put on your display lid and the process is complete. It is a good idea to create a label to put on your display case. This label could have information like the type of beetle, its size, how long it lived, and whether it was captive bred or from the wild. If it was from the wild, you could make note of what country or part it was from. |
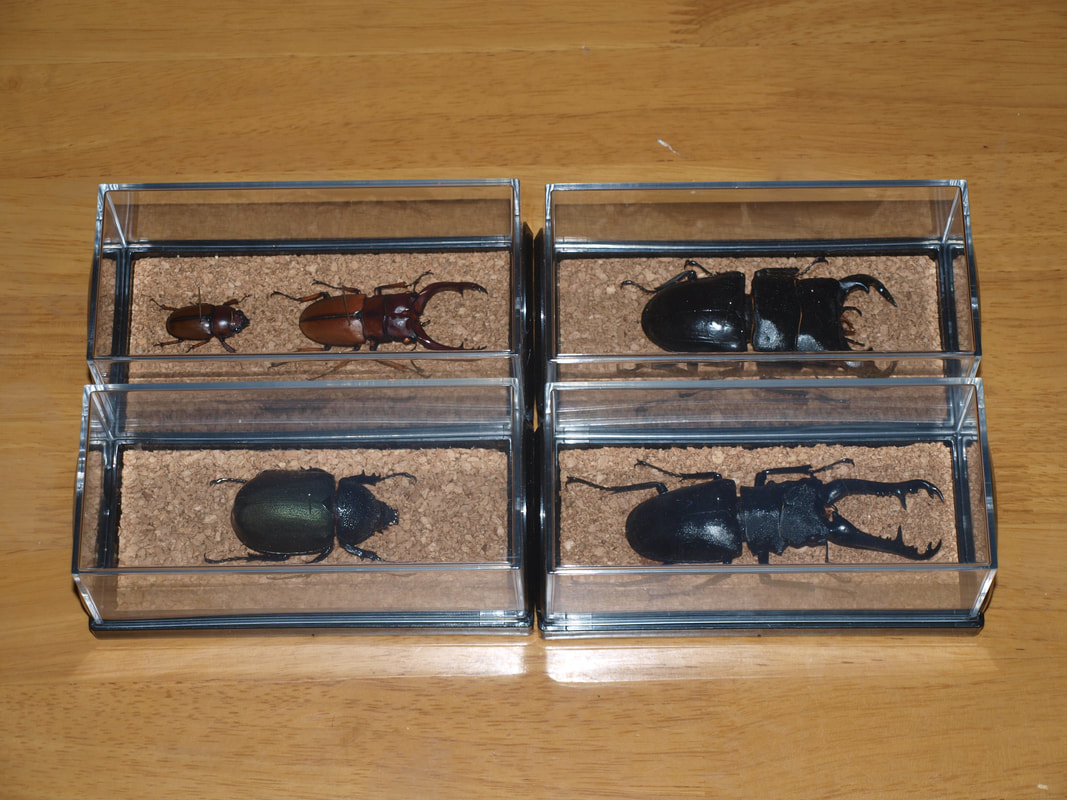
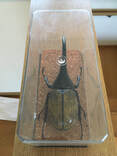
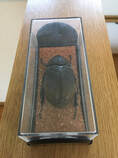
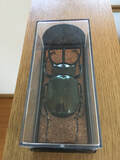
Examples of Beetle Specimens
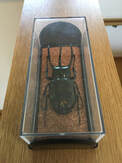
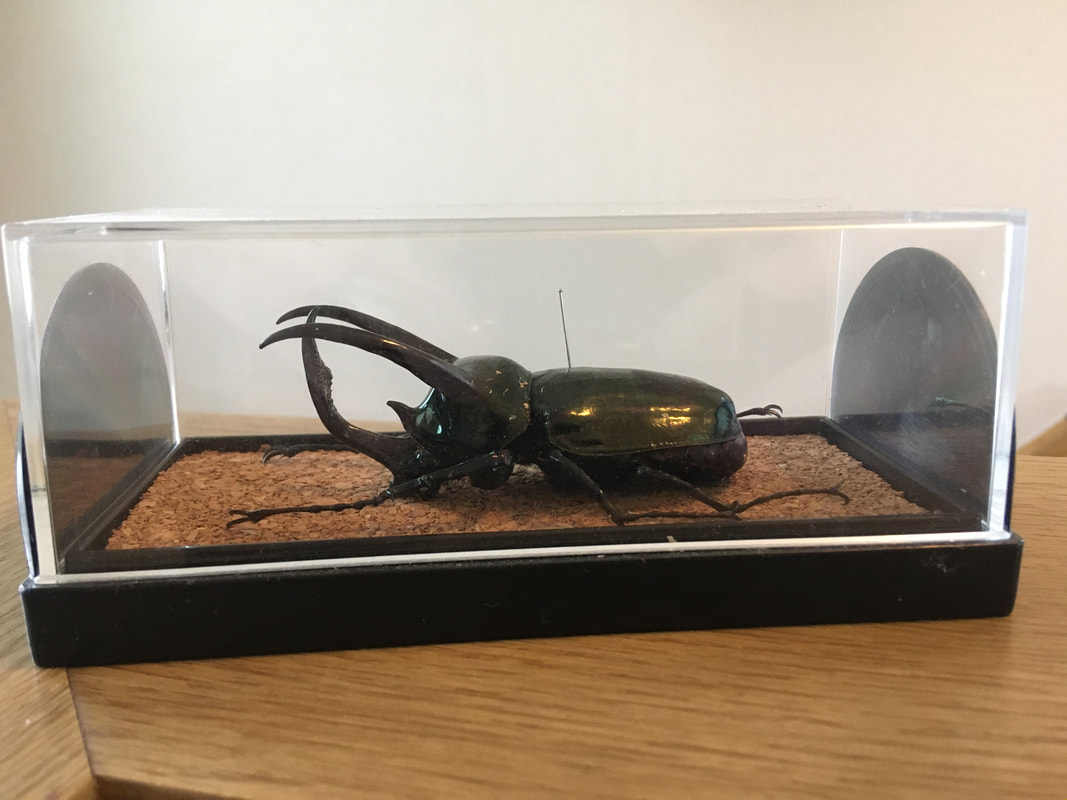
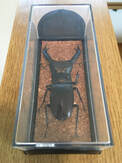
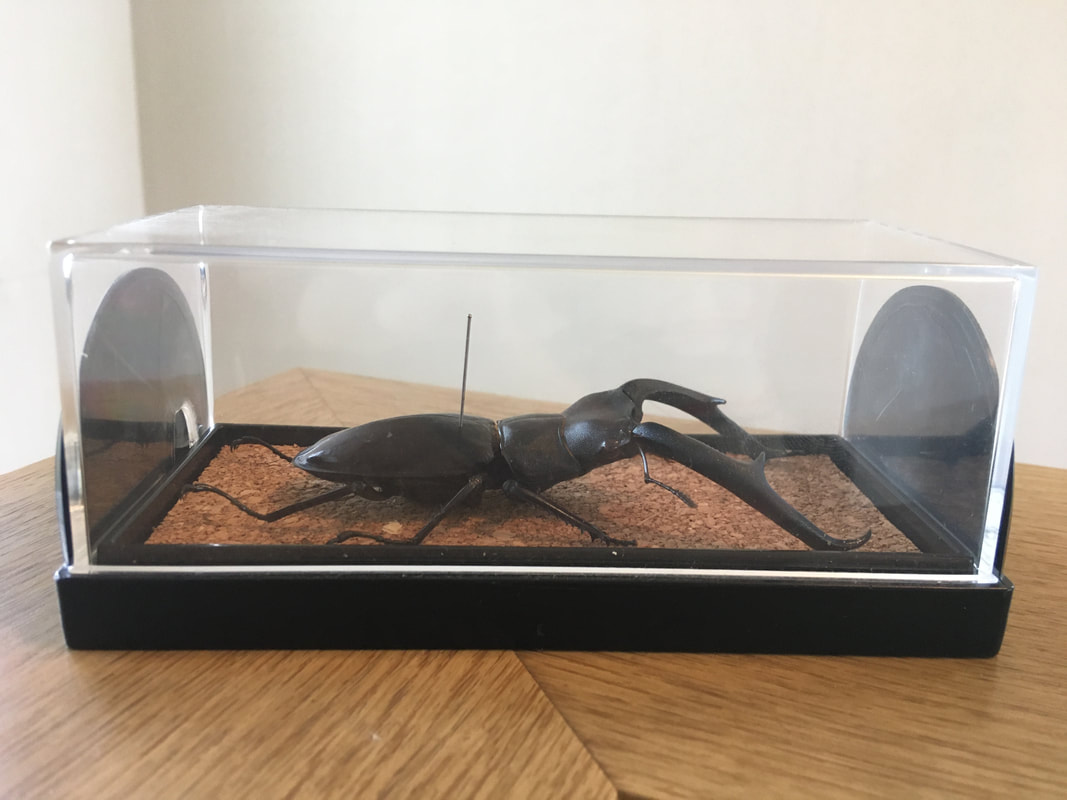
Below are some beetle specimens I have made using the process explained above. They all died naturally of old age before I turned them into specimens.
Dynastes Hercules ♂ and ♀
|

|
|
|
Chalcosoma Chiron (Caucasus) ♂ and Chalcosoma Atlas ♂
|

|
|
|
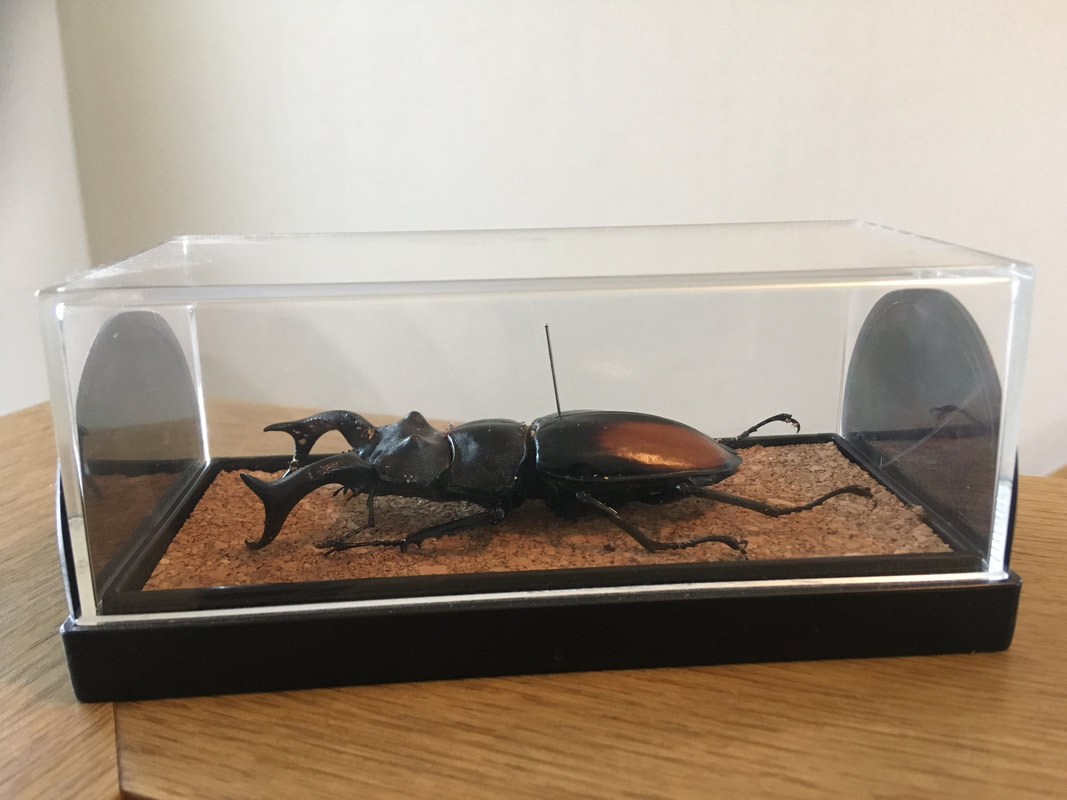
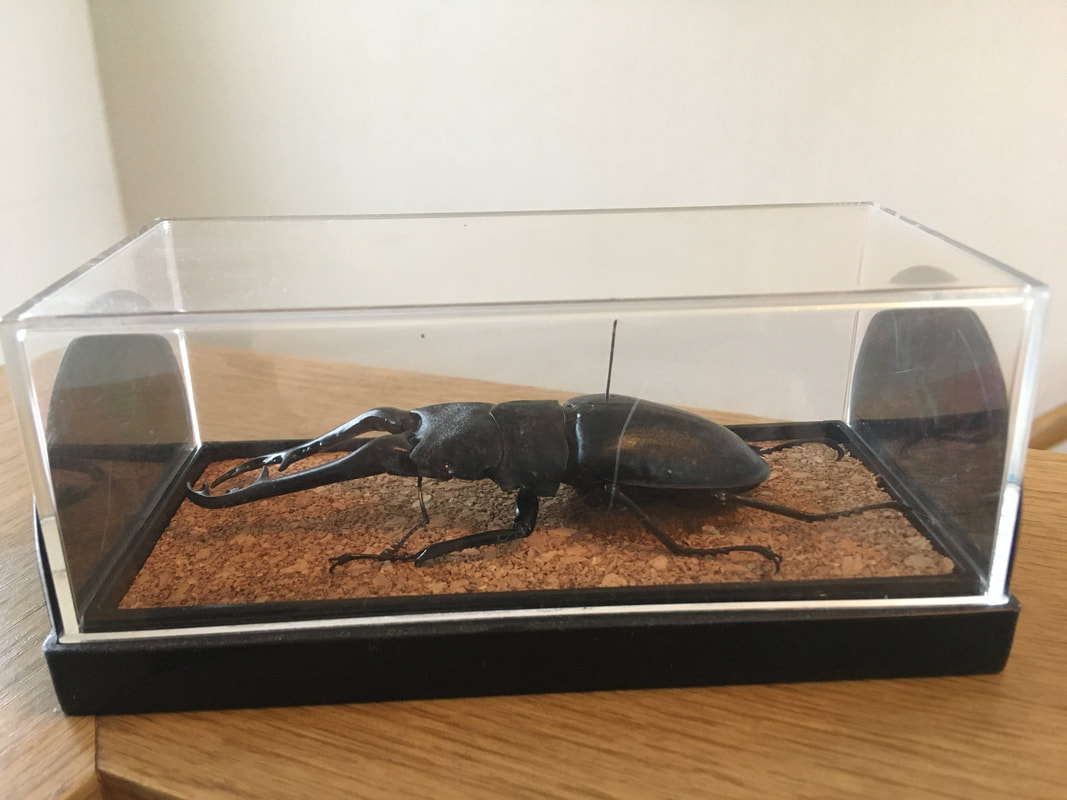
Hexarthrius Mandibularis ♂ and Hexarthrius Parryi ♂
|
|

|
|
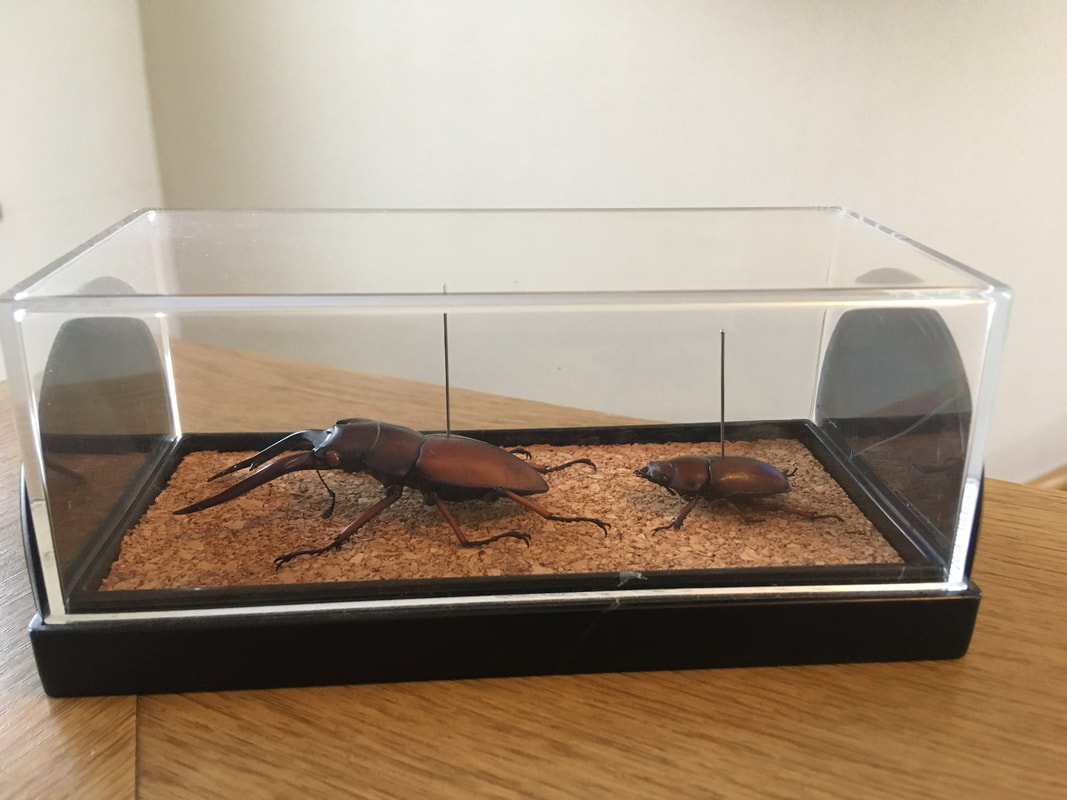
Prosopocoilus Giraffa ♂ and Prosopocoilus Astacoides ♂♀
|
|
|
|
